Would you like to make your own bow?
Just read this tutorial and you will be able!
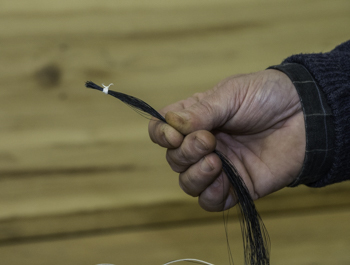
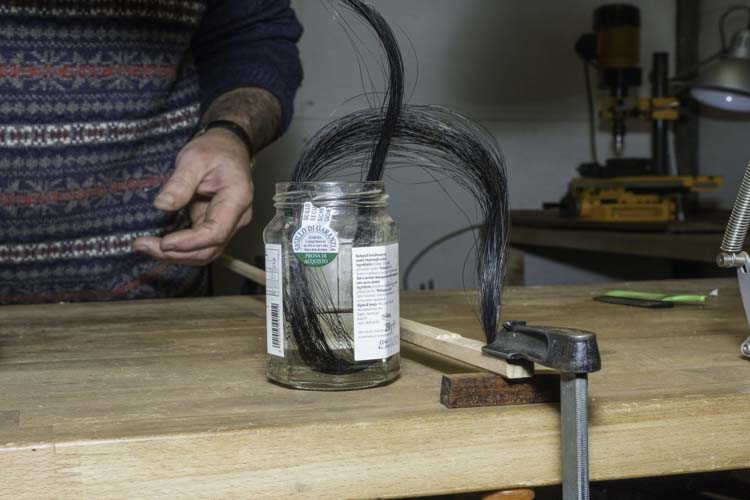
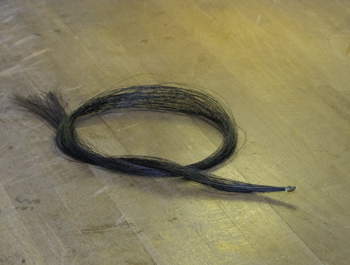 A bow is actually a stick with horsehair. So first we need horsehair. The color of the hair doesn’t matter, they are basically all the same.
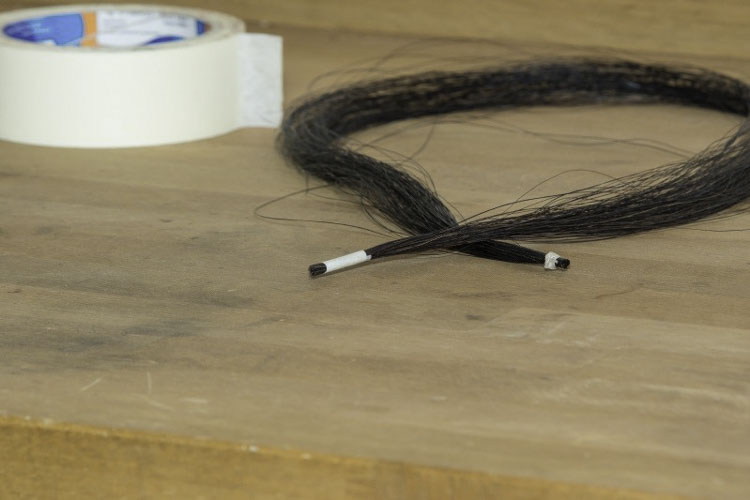
What you need is a single hank.
I buy my hair from www.lex-bogenbestandteile.de. You can also buy a single hank for less than 10 euros.
If you Google “horse hair supply” you get a lot more addresses. 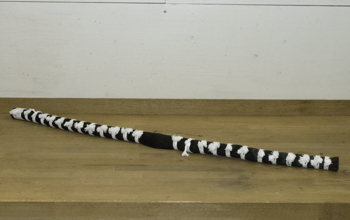
They sell 500 grams of black hair for 100 euros.
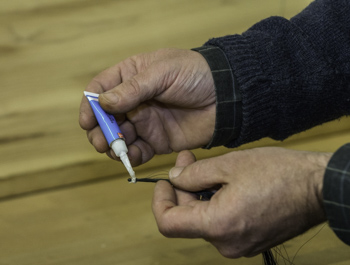
To make a single hank you cut the amount of hair you want to use and tie them together with a big knot, then put some superglue in the knot.
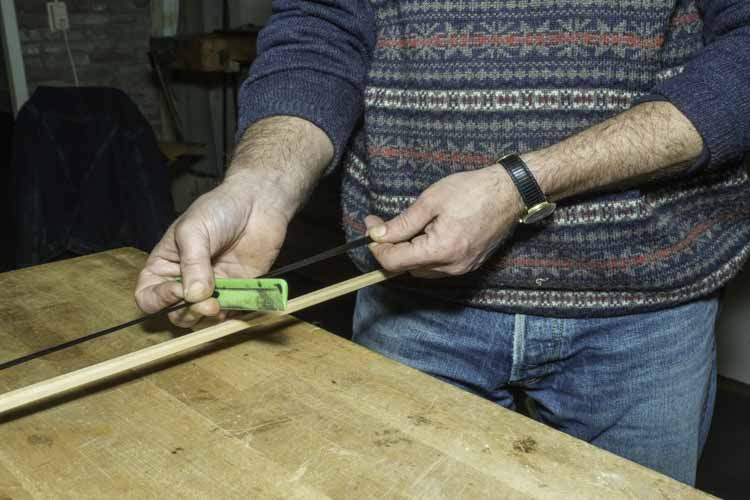
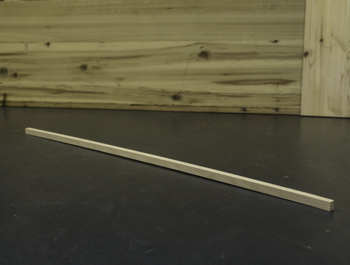 Then you need a stick. Hardwood is the best, but most kinds of wood will work.
Aged wood with a straight grain is the best: length +/-75cm and thickness 12-15mm.
If you can’t find anything suitable, use the stick of your broom.
For the frog any kind of wood is good. 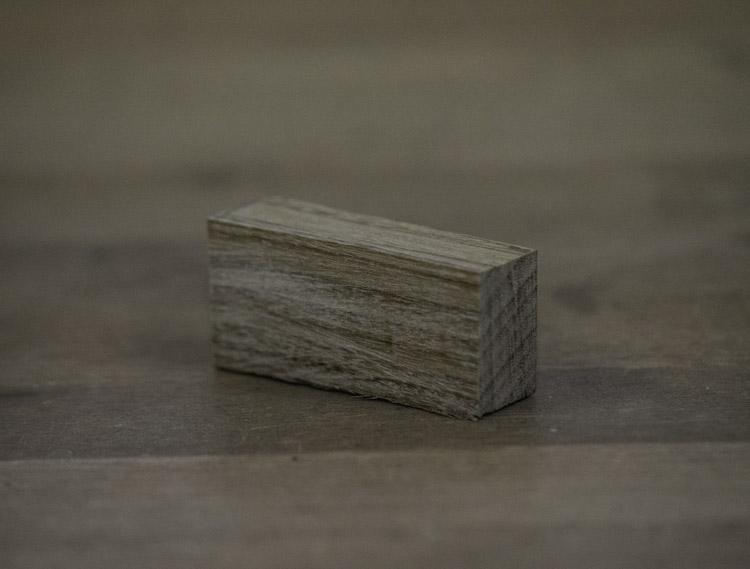
You need a piece of approx. 50X25X15 mm .
The tools I recommend to make your own bow are :
- Small plane or scraper
- Good file
- Pair of scissors
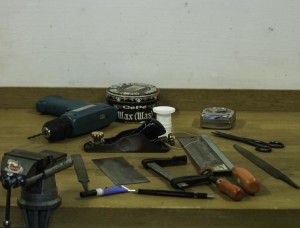
- Drill (a machine or a hand drill) with a drill point of 4mm
- Small handsaw
- Superglue or another fast-drying fluid glue
- Shoeshine or antique wax
- Some sandpaper and a scouring sponge
- Strong thread
- Pencil
- Tape measure
- Vice or clamp would be good
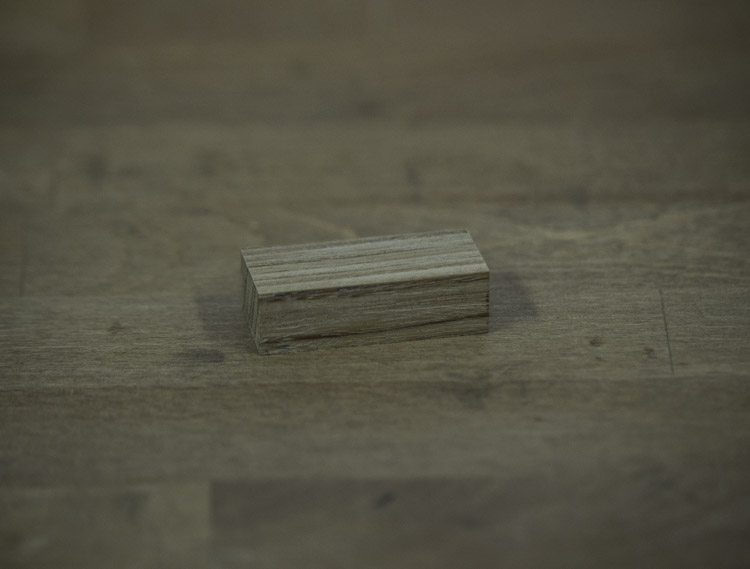
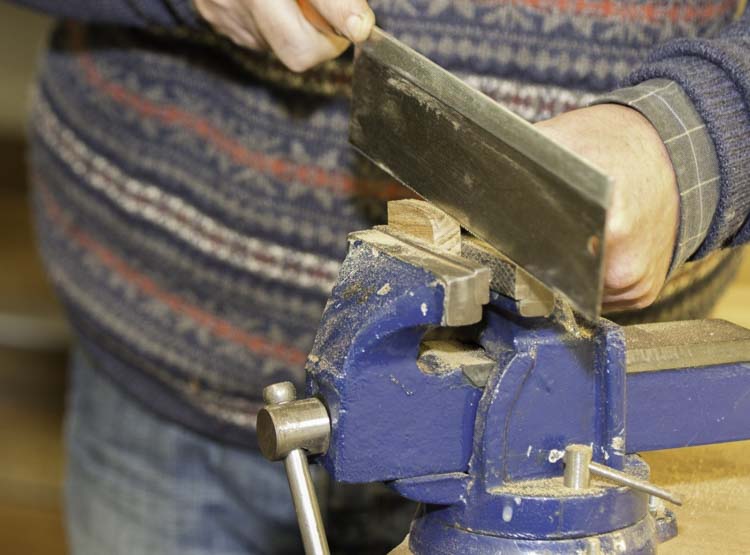
Let’s start to make the frog. Bring the piece down to 45 x 20 x 13 mm. You don’t need to be very exact, but try to make it square in every direction.
A violin frog is wide enough with 10 to 11 mm, a cello frog should be about 12 mm and a bass about 15mm wide.
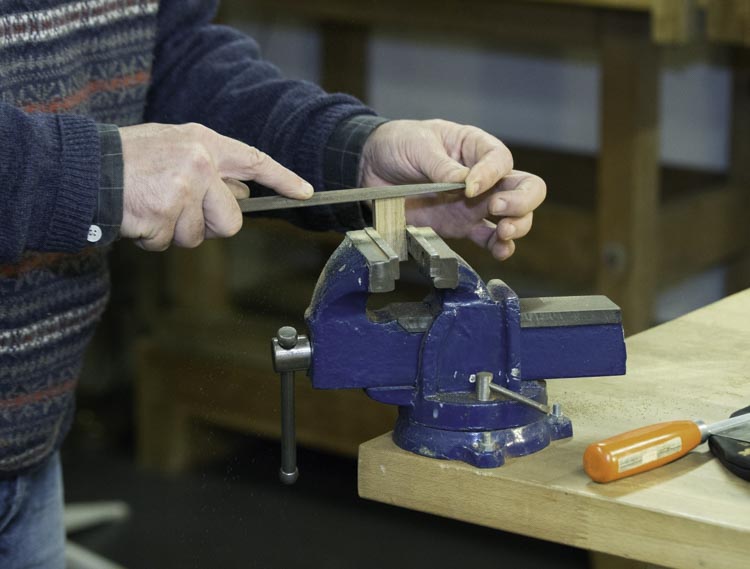
Next thing is to make the frog lower at his backside, and then you can round the it, important is that the highest point of the frog is in front at the square side .

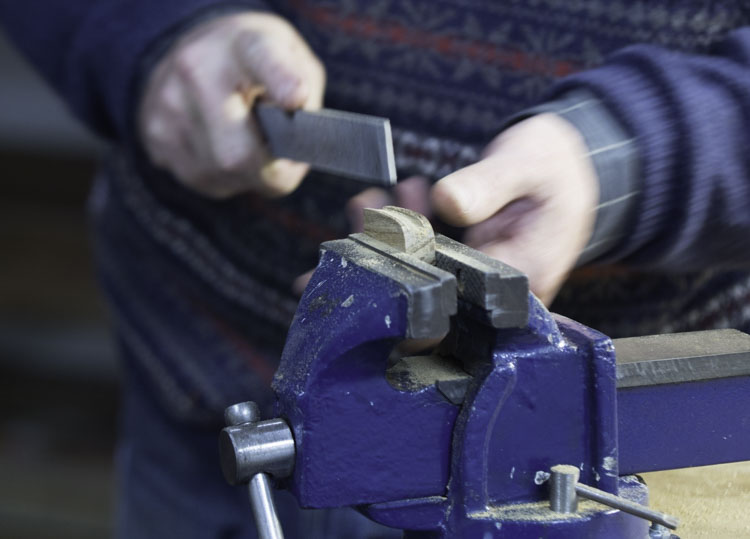
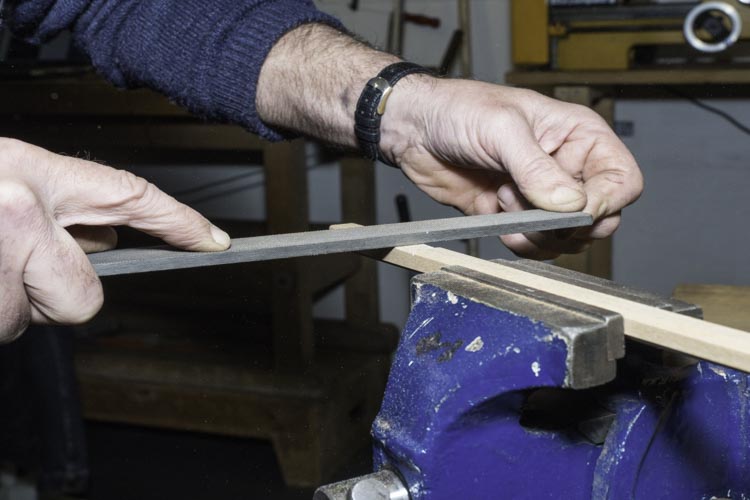
Make a bed for the hair on the rounded side. I do the first cuts with a saw and then deepen it out with a file.
The width (9mm violin & viola, 10mm cello, 12 mm bass) of the bed is the width of the hair lint you will get. Depth 2mm.
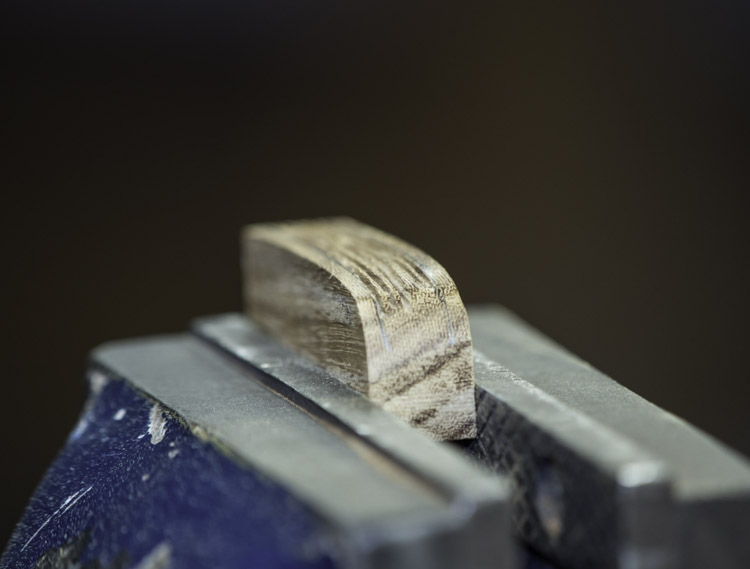
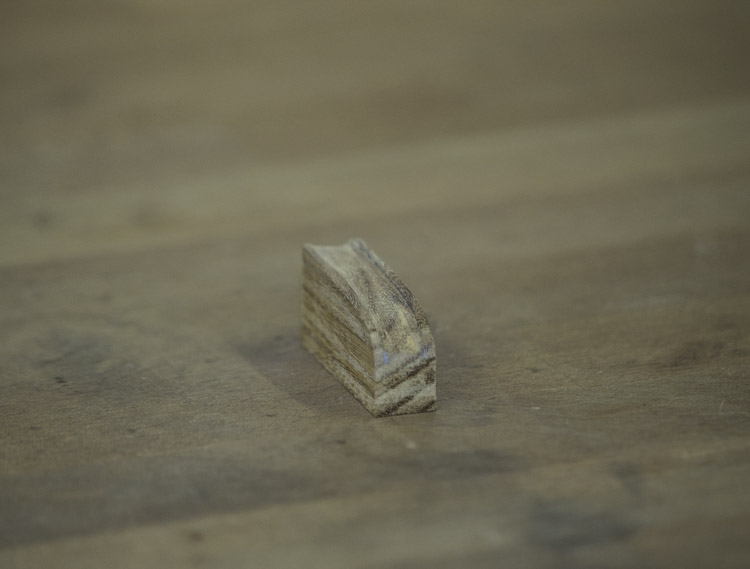
The frog is done.
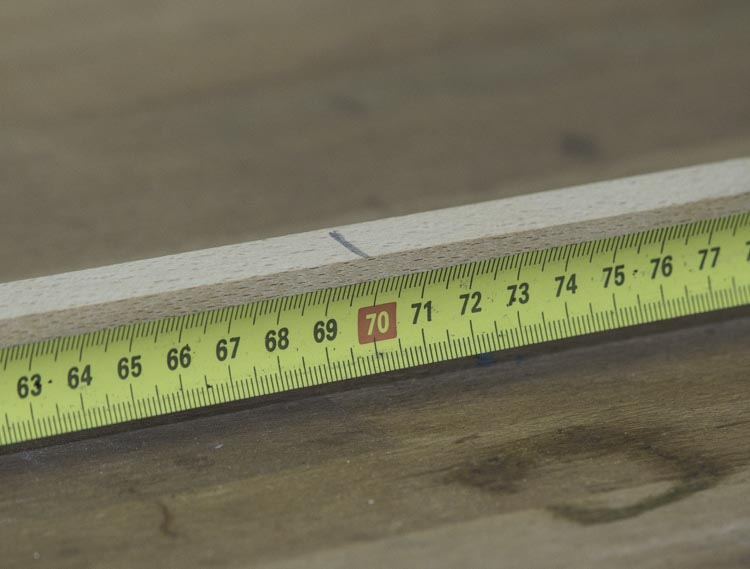
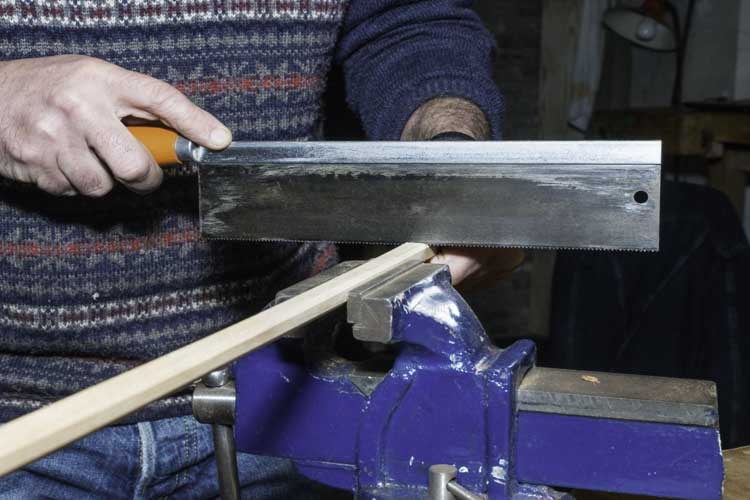
Cut your stick at 70 cm for a violin or viola bow, about 65 cm for a cello or a bass bow.
 Drill a hole in the middle (diameter: 4mm violin, 5mm cello, 6mm bass), 3 cm from the end of the stick. Try to make the whole in a right angle with the stick.
Maybe it is better to clamp the stick down or somebody holds it for you. If your hole is not exactly in the middle, you will be able to adjust this later when you’re thinning down the bow.
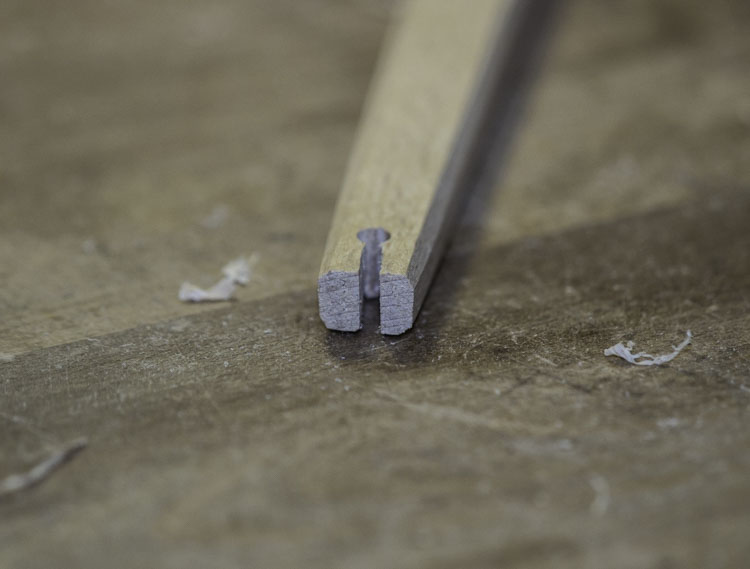
Drill a second hole of 4mm (5mm cello and 6mm bass) at the other side, 1cm from the end. That will be the tip of the bow.
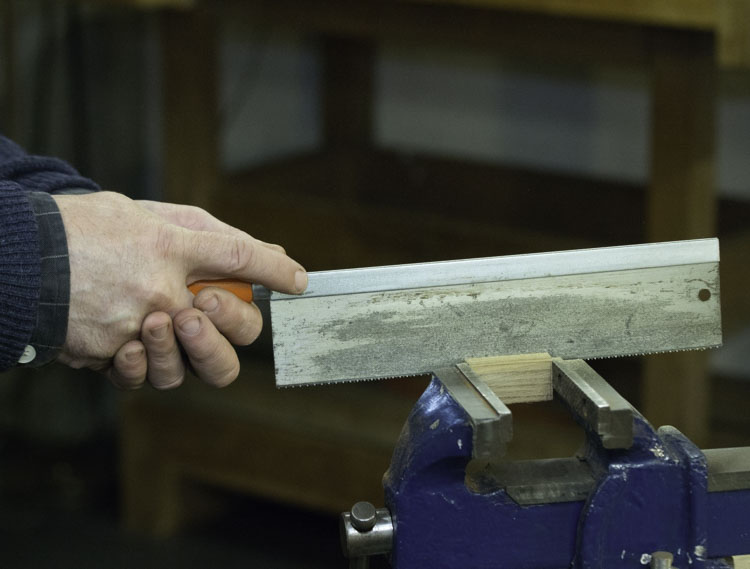
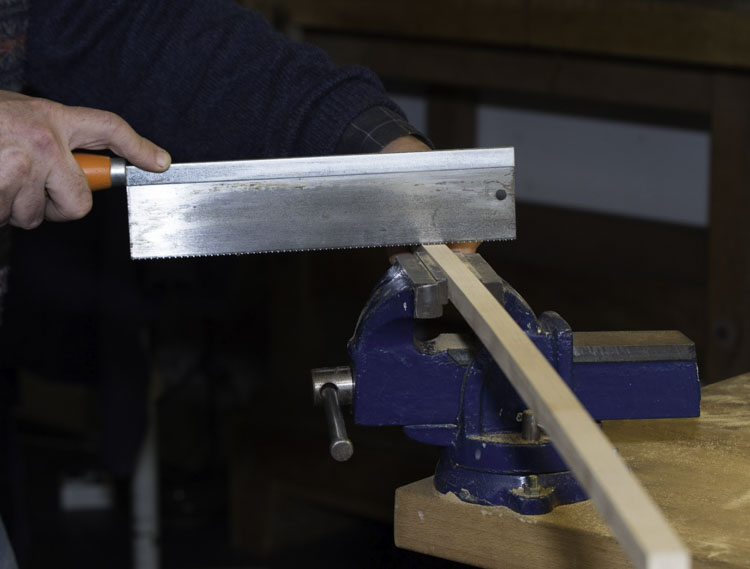
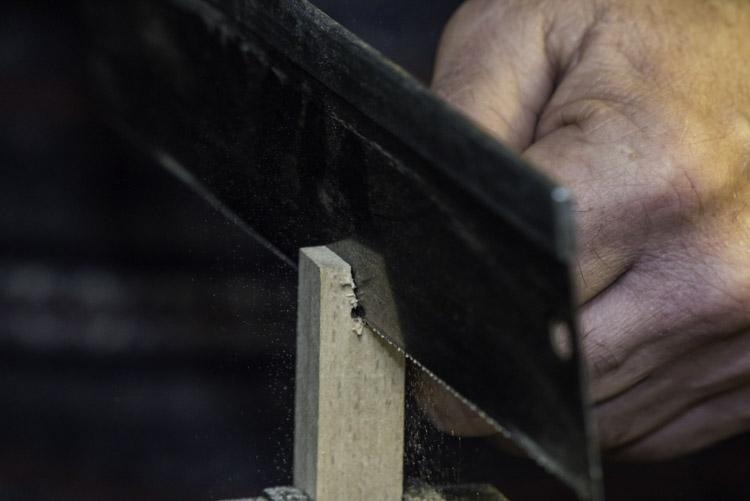
Take your saw and make a cut (2 mm wide) from the tip to the hole. If it is not wide enough, make 2 cuts next to each other, or use a knife or a thin (fingernail) file to widen the cut.
Don’t make it wider than necessary
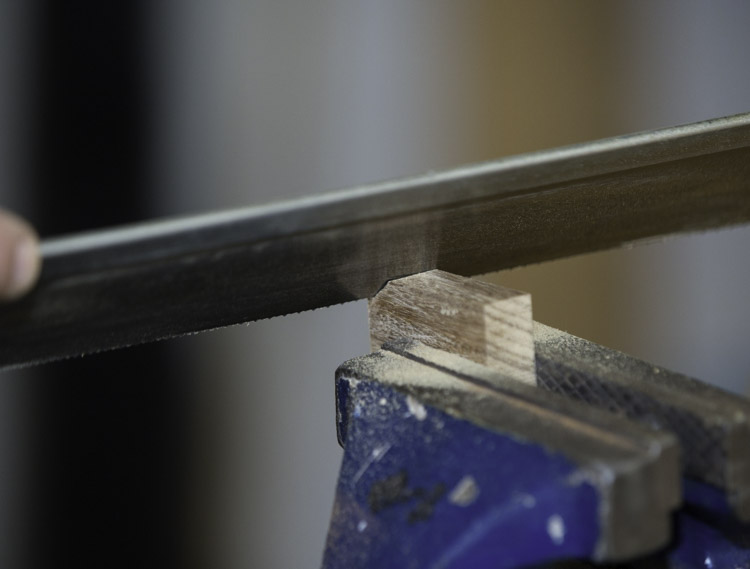
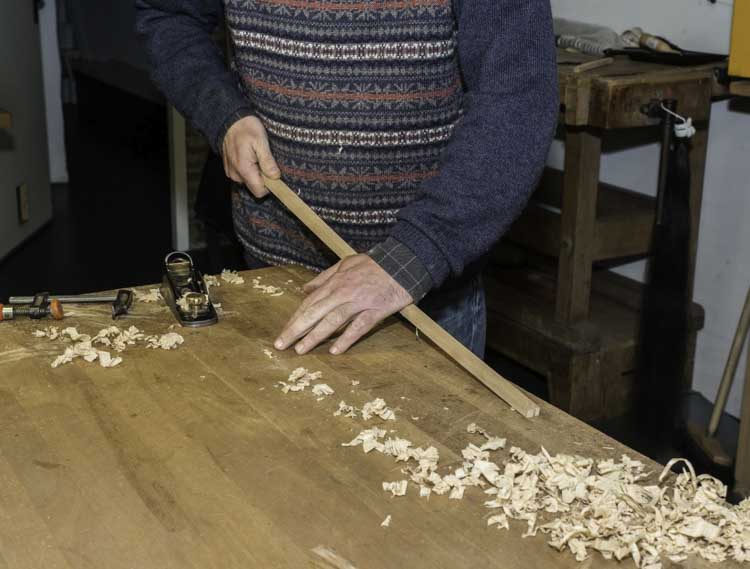
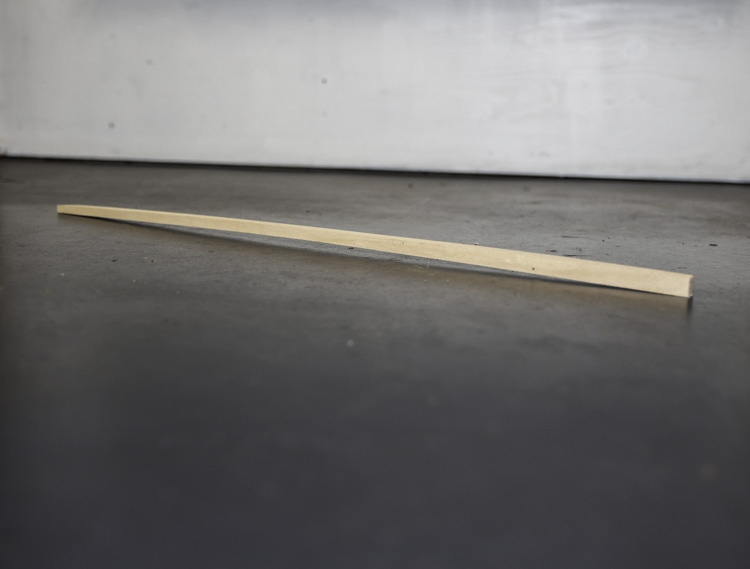
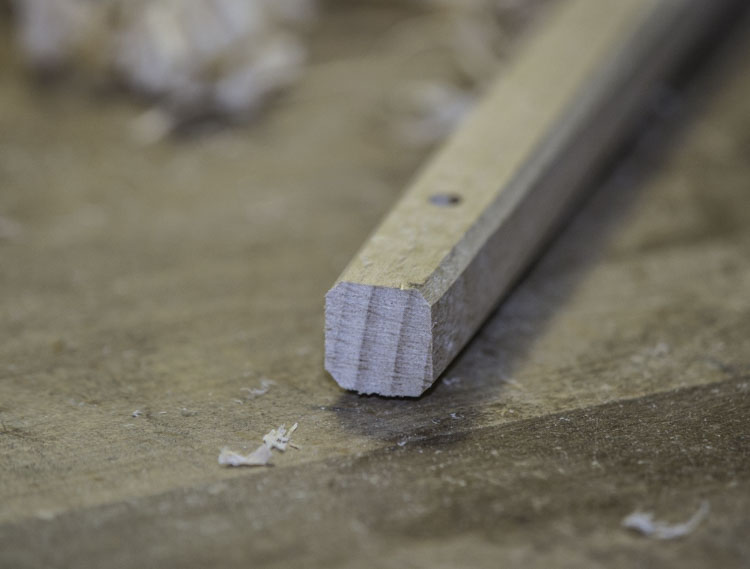
Usually a bow stick is fluted, thinner at the tip for a better balance. For a violin bow, I recommend 10mm high and 12mm wide at the frog end and 6mm high and 8mm wide at the tip end (cello is 2mm, bass 4mm more, approx.). It is wider than higher so that the tip end does not become too fragile and to add some lateral stability.
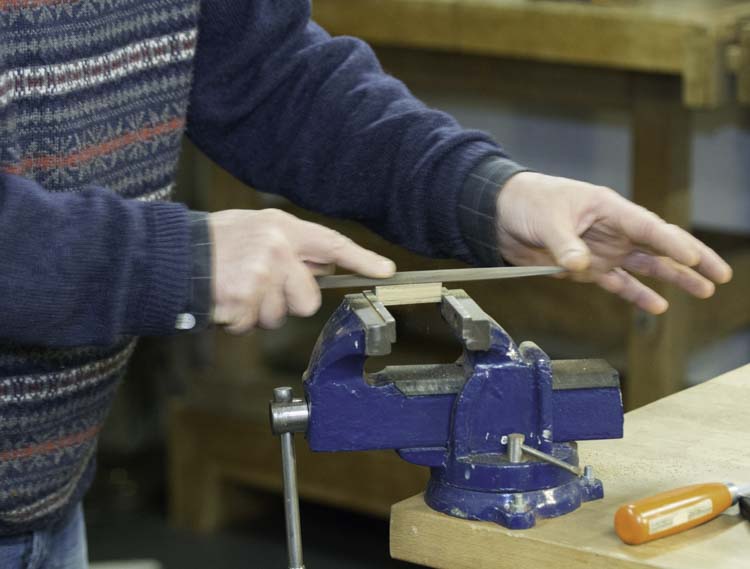
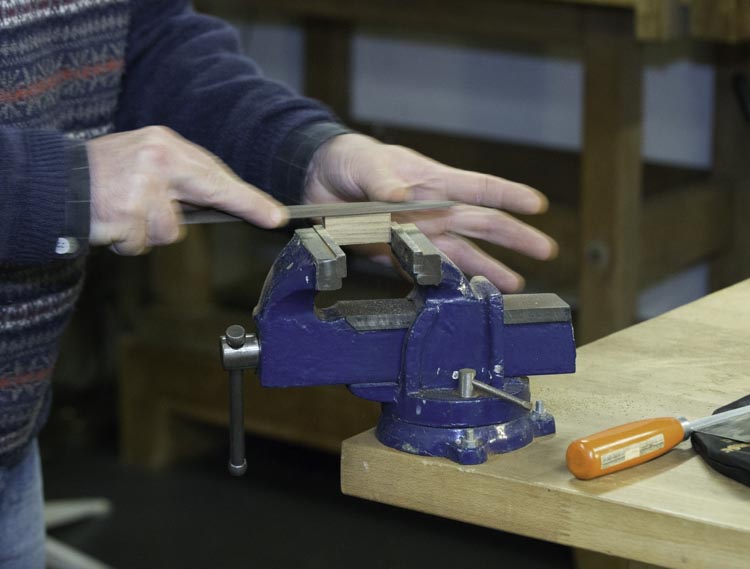
I use a plane, but if you don’t have one you can use a file or a scraper to reduce the stick. The fluting should be even and the stick straight. Try to keep the holes in the middle of the stick.
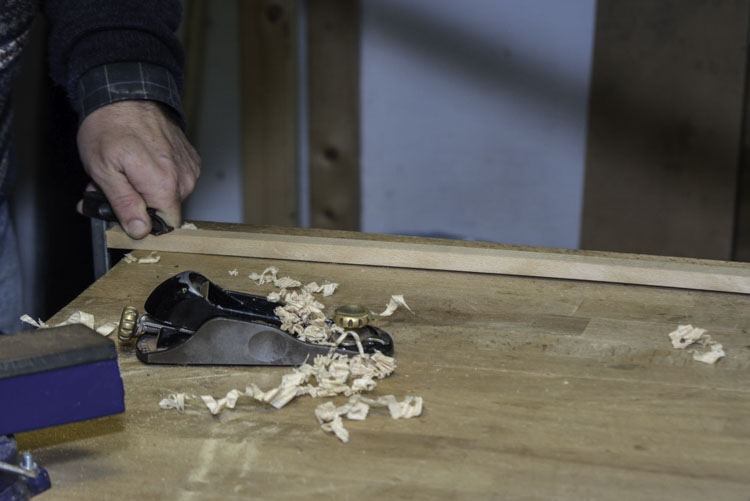
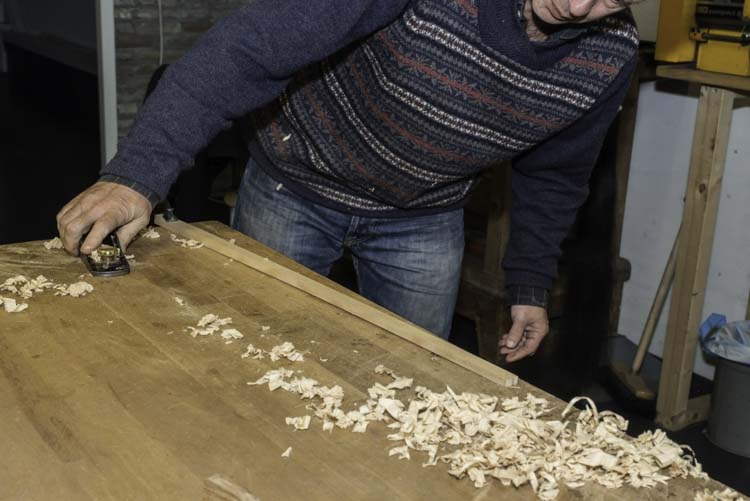
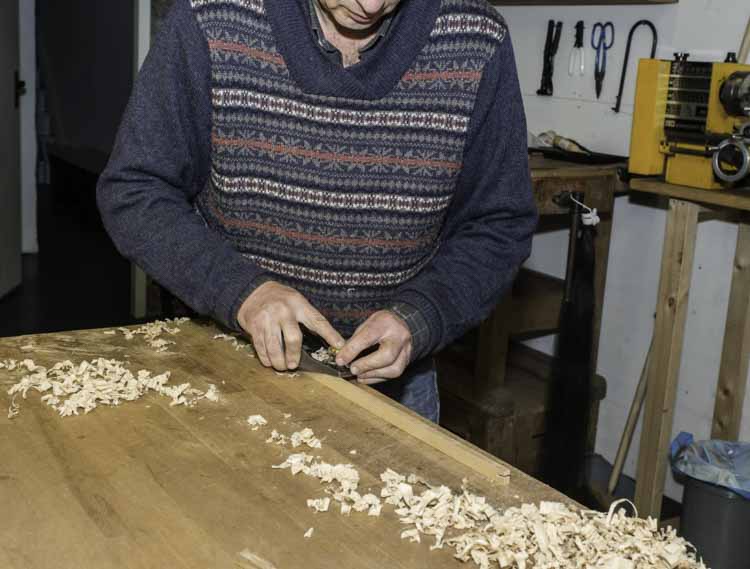
You can make it slightly 8-sided, or do this later, after the hair is on.
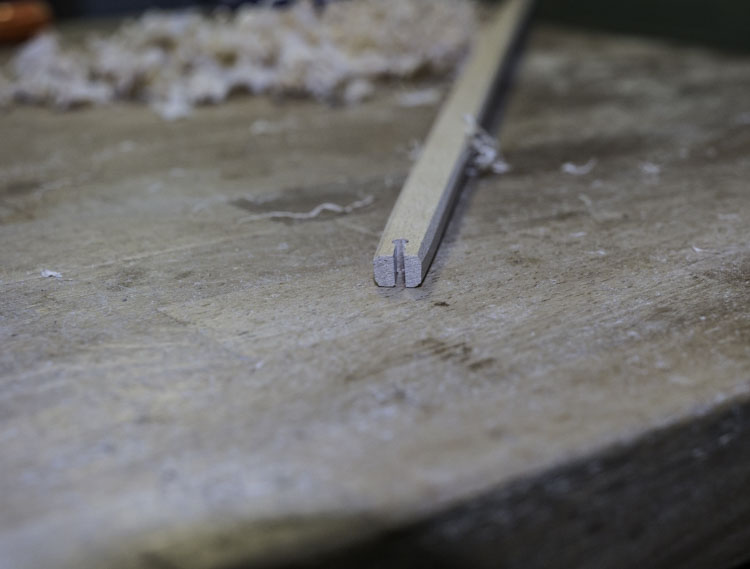
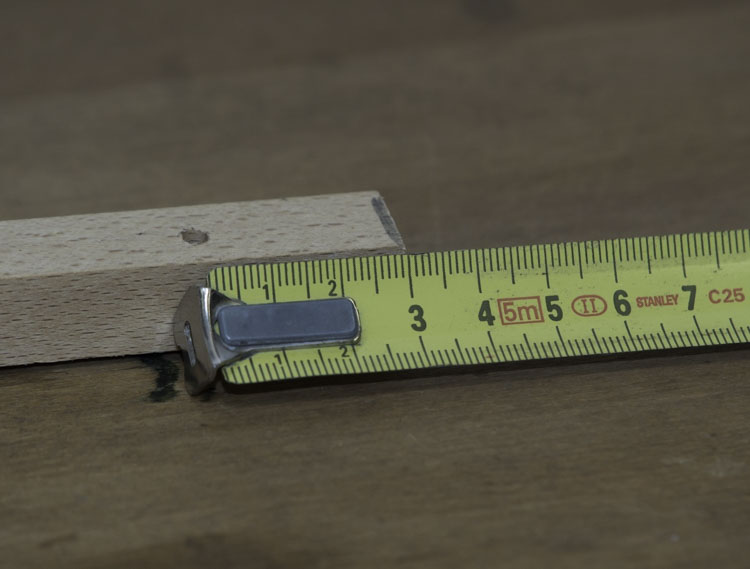
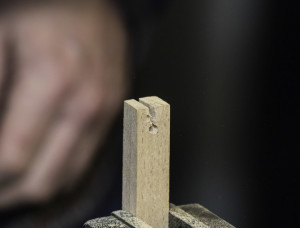
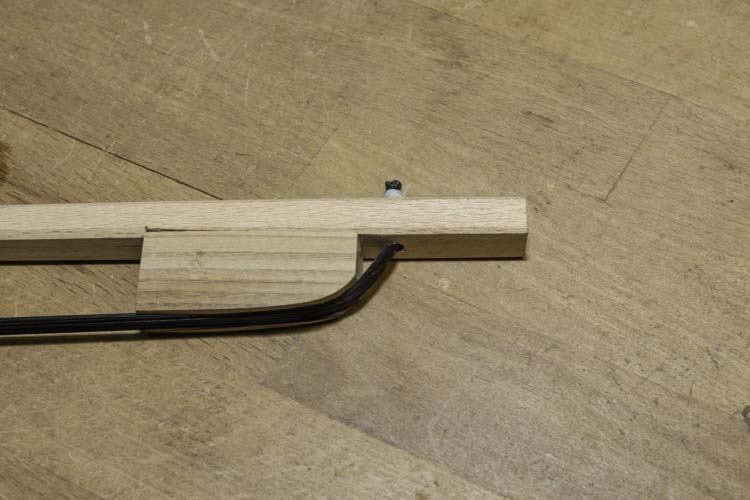
 To stop the frog from sliding away make a cut in the stick at about 50mm from the first hole (the wider side).
The cut should be about 2mm deep, not more than that, otherwise you weaken the stick more than necessary.
File the wood away between the hole and the cut. It should be graduating in depth: the full height at the hole and 2mm deep at the cut. Keep it flat so that the frog will sit firmly on it.

Now we get to the most tricky part: putting on the hair.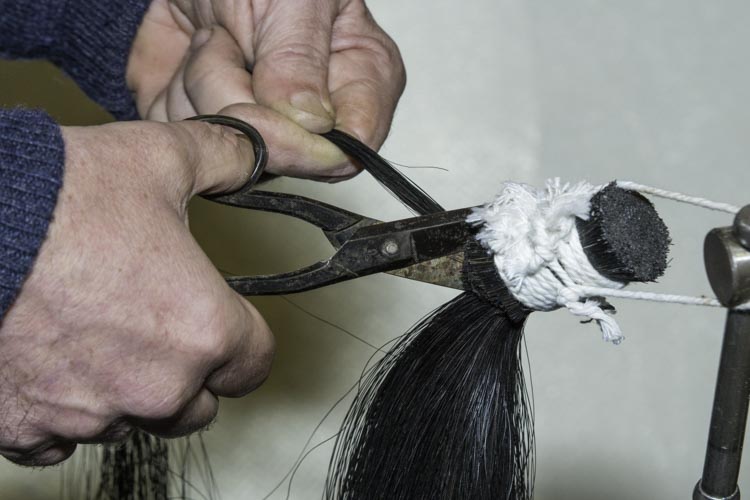
Try to take about the same amount of hair as you have on a normal bow.
A violin bow needs about 120 hairs minimum (4 to 5 grams). A bass bow has twice as much hair and a cello is somewhere in between.
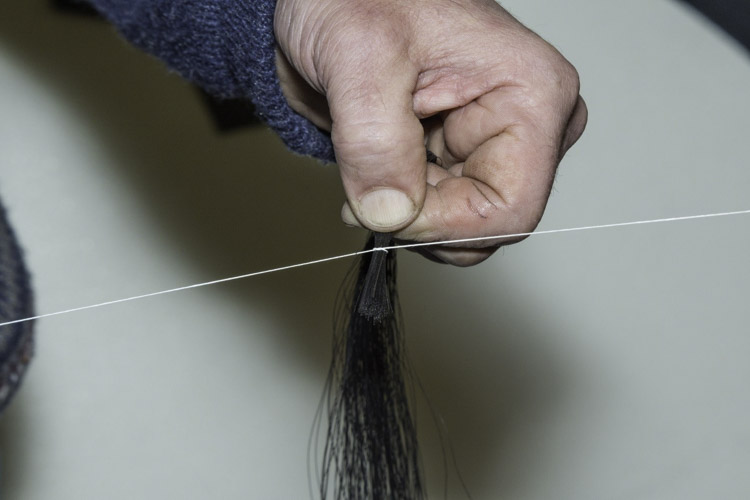
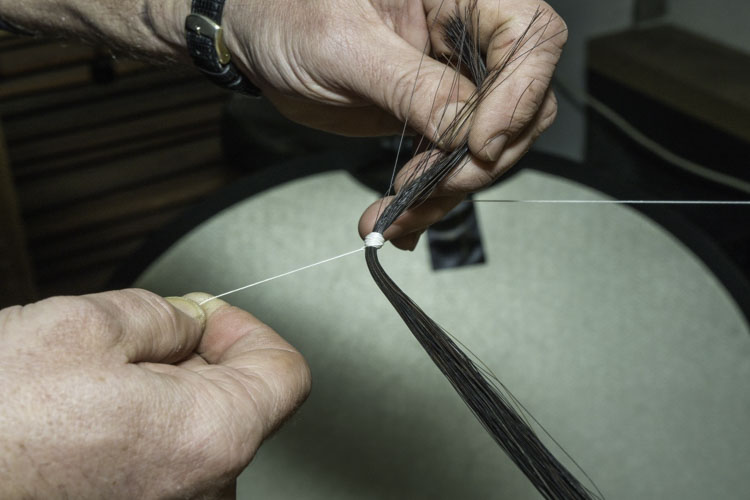
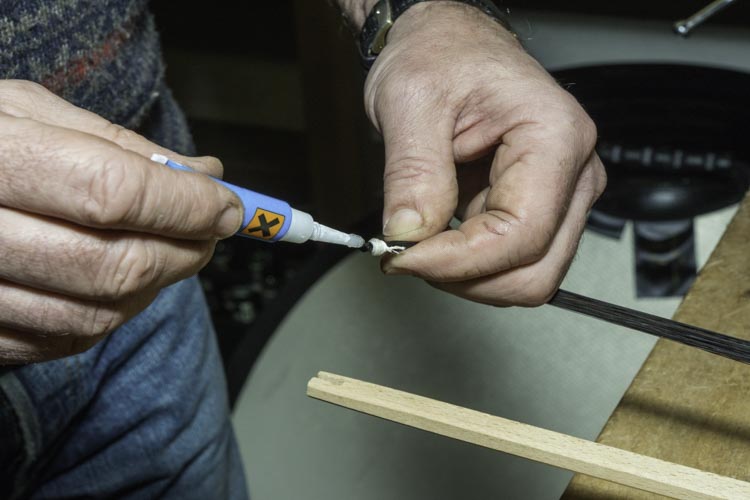
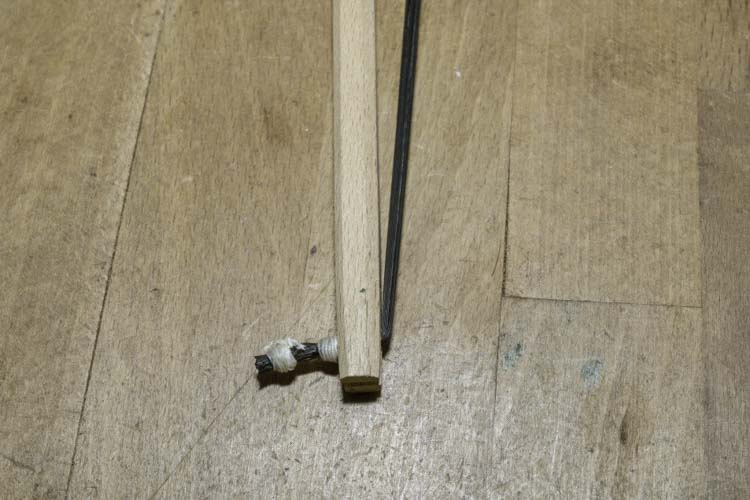
First tie the bundle together with a strong thread.
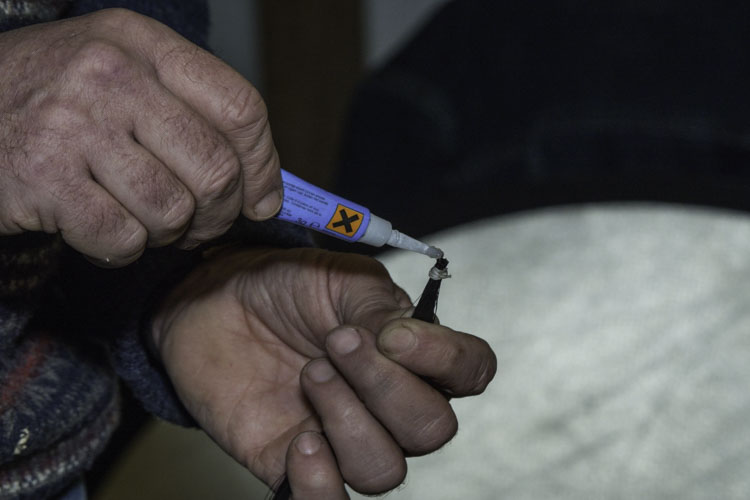
Make a knot and wind the thread around the hair until it is thick enough so that it can’t slide through the 4mm hole in your stick. Knot the end again and cut off the thread.
Cut off the excess hair, and put enough superglue on the end of the hair and on the knot, it will become as hard as stone.
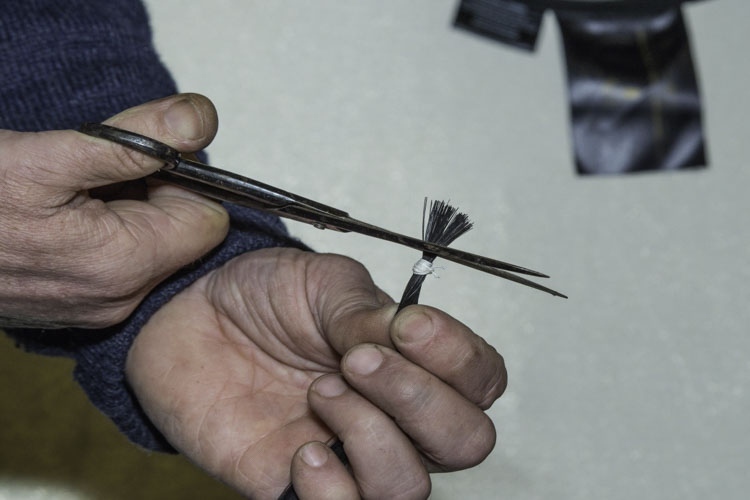
To make it easier to get the hair through the hole wrap the loose end with tape. Push the taped end through the hole at the frog side from above and pull it through. Watch out: Make sure you insert the hair from the right side, so that the hair will lie over the frog.
Now you remove the tape.
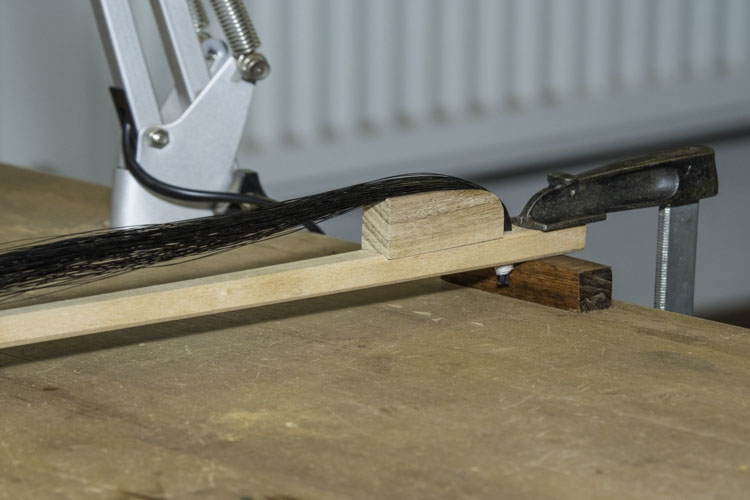
Secure the stick on a table or have somebody to hold it down for you.

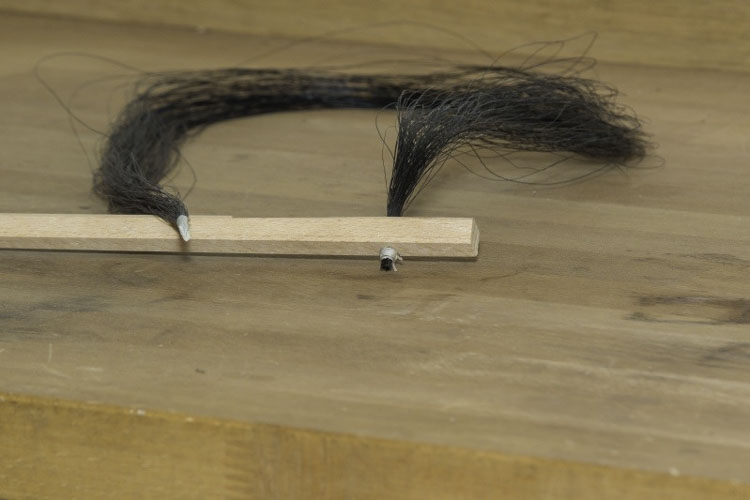
Wet the hair to make it easier to comb.
 Start combing at the end of the hair lint. You want all of the single hairs to have the same tension, without crossing each other. The comb helps to put them next to each other, the pressure of your fingers gives them an equal tension.
Go through the hair about 10 times with the comb in your hand, pressing your two fingers together, until the hair lint looks flat and even.
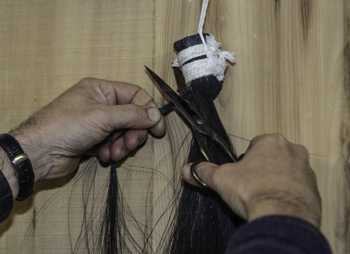
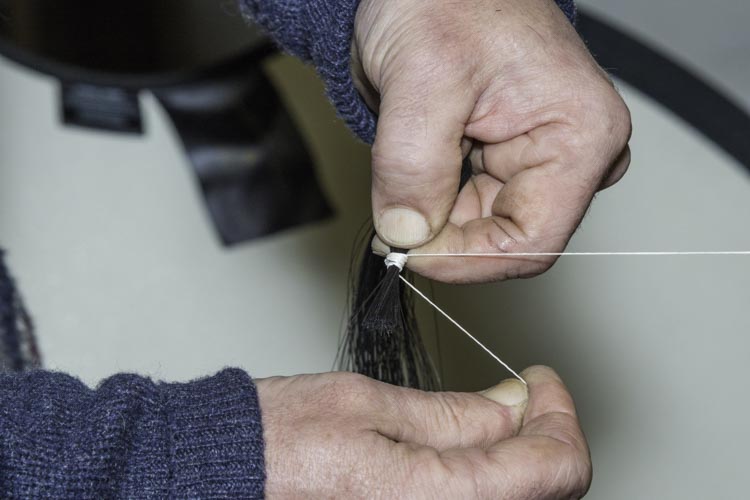
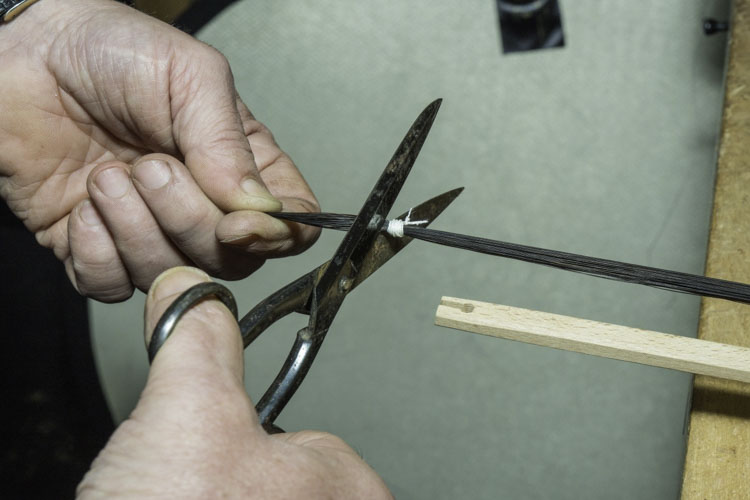
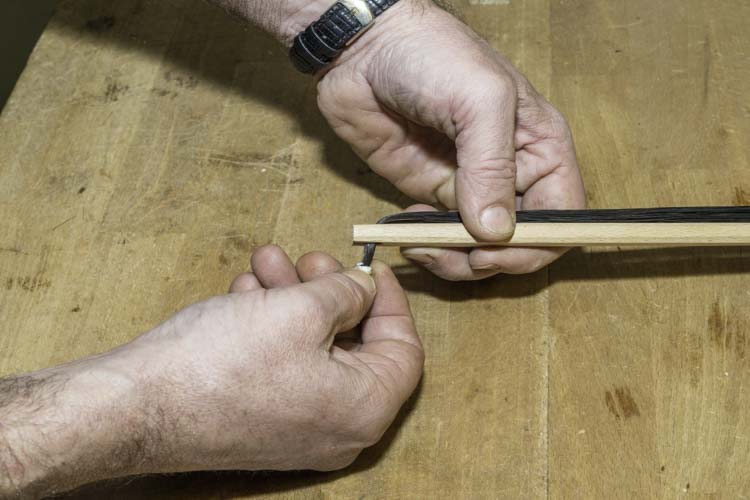
Once the hair lint is nice and even, make a knot at the end, about 1cm longer than the stick length.
Wind the thread around the hair until the knot is thick enough so that it can’t slide through the 4mm (cello 5mm) hole in your stick. Knot the end and cut off the thread.

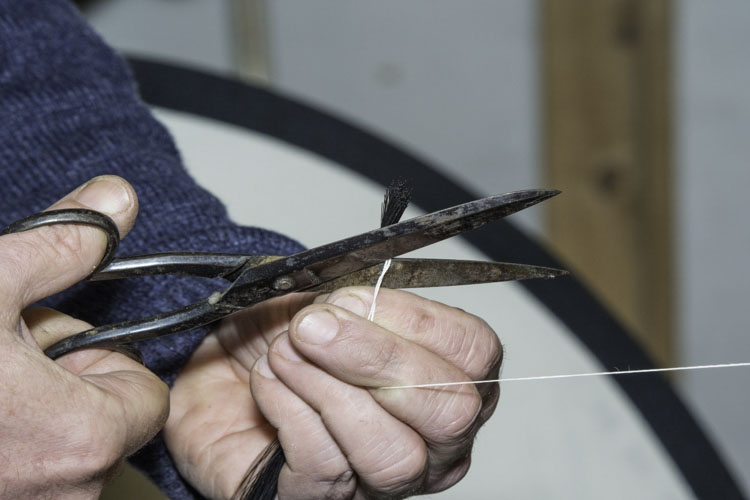
Cut off the excess hair, and put some superglue on the end of the hair.
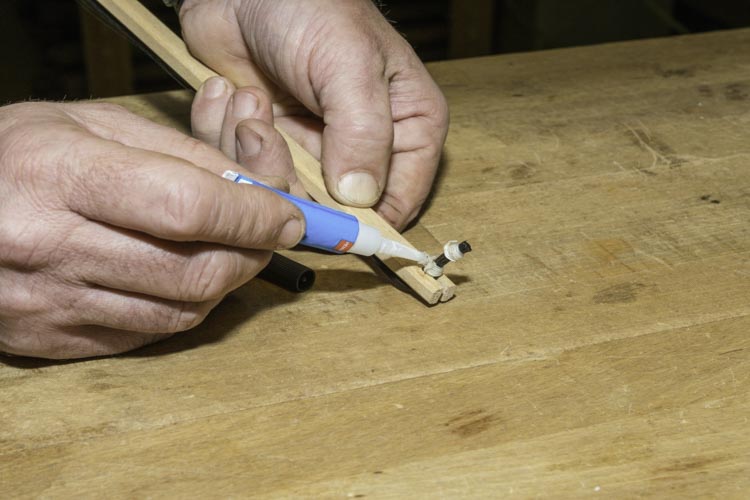
Now you put the frog in. If the hair ribbon looks twisted you can still turn the knot until the hair looks even.
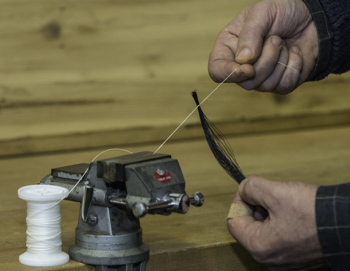
The hair is obviously too loose. In order to tighten it. First remove the frog. Then pull out the knot approx. 1 cm at the tip and make a second knot big enough not to slide through the hole. Put superglue on the knot , as you did the first time.

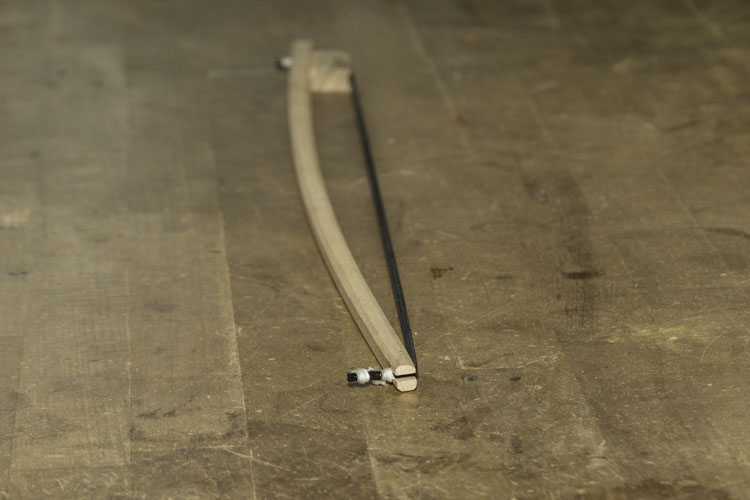
Pull the frog in place and see if there is enough tension now. To do this, it is better to bend the stick so the hair is released.
The hair should be short enough to give the stick some bending.
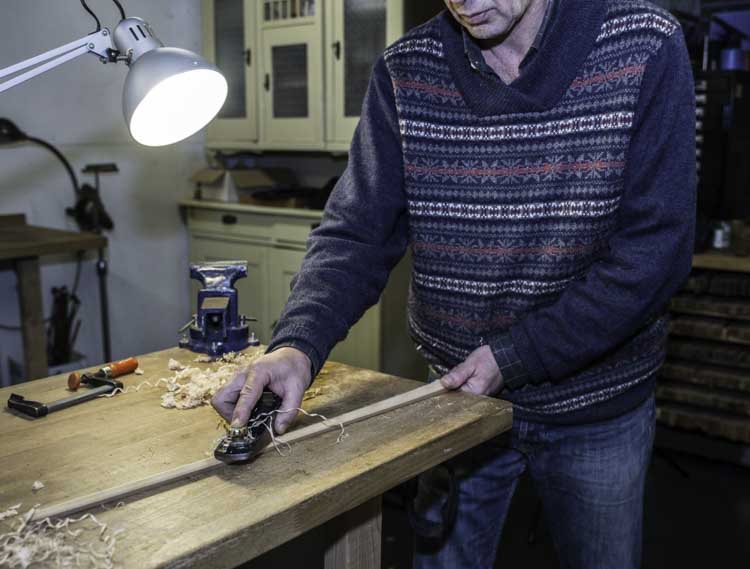
Now, you put some rosin on the hair and play it for the first time. If the hair is not tight enough you take the frog out and make a new knot a little shorter then where it was. If the hair is too short you can take off some wood in the frog, just make the bed of the hair lower and there will be less tension on the hair.
The bow is probably still too stiff and you want it to become more flexible. A softer bow has usually a nicer sound, but if it is too soft it becomes slow an unstable. So be careful on how much wood you take off. Keep on testing the bow. A gram or two can make a big difference in playability and sound.
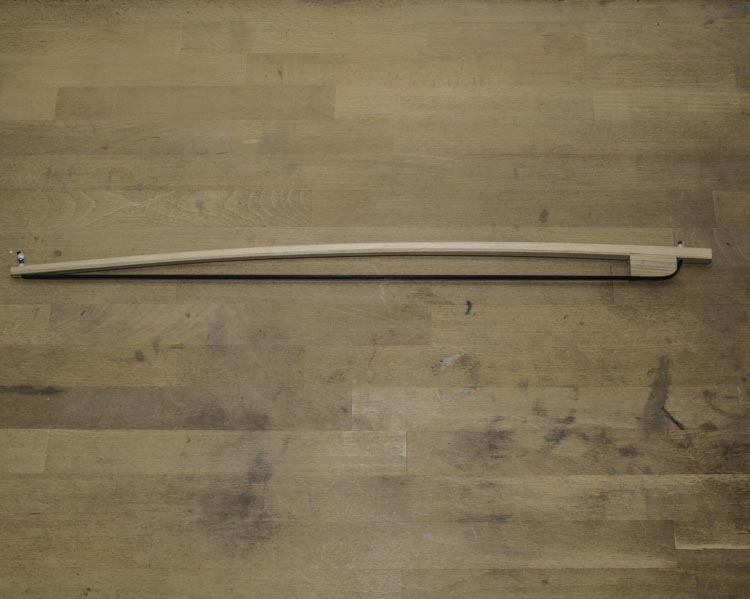
Go slowly, that is the fun part, adjust the bow until you really like it. The stick can have 8 sides as mine, but you can also make it round, or oval, or triangular. There are no rules or measurements to follow, just trust your own intuition, you are good and this bow is for you.
A violin bow is good at about 60 grams, a viola at 70, cello at 80 and bass more than 100 grams. If the bow is tightened the bend of the stick should be regular,
If you see a spot where the stick doesn’t have any curve, that is where you have to take off some wood. Just do it !
Sir Thank you so much for your tutorial on the making of a bow.I have just finished carving a Cretan Lyra and can’t wait to try my hand at producing a bow…I am so happy to have found your site. Sincerely, Kreig